Resonance: A Plague Tale Legacy Walkthrough
Last verified: September 7, 2026
The story of Resonance: A Plague Tale Legacy is told across 14 linear chapters, from Chapter I: Blood Ties to Chapter XIV: What Remains. This walkthrough covers every chapter with its objectives, puzzle pointers and collectible counts, so you know what to expect before you set foot on the Minotaur's Island.
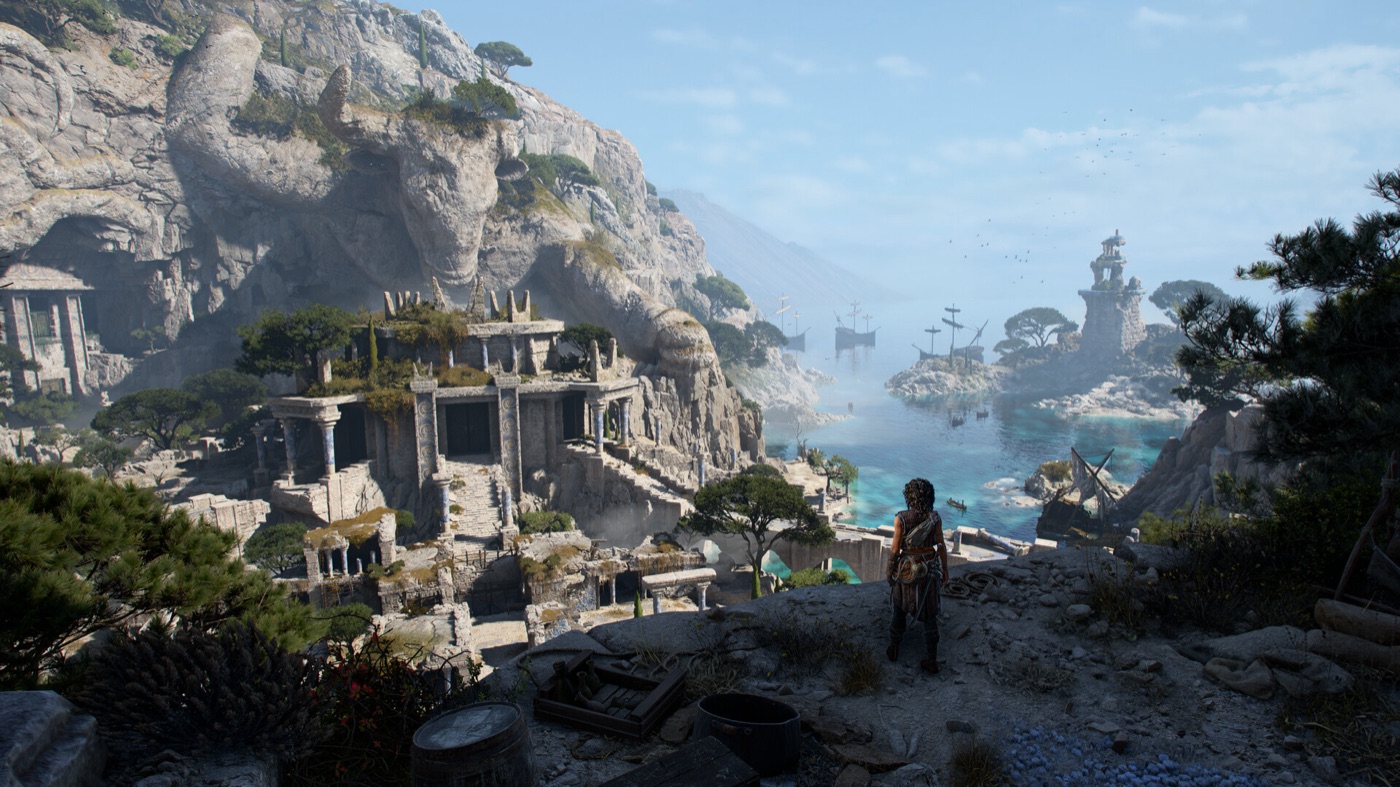
Sophia's journey begins on the Minotaur's Island, where past and present collide.
Overview
Resonance plays out as a series of sub-chapters within each chapter — smaller objectives like "Loot the bodies" or "Follow Daedalus' shortcut" that guide you from one set piece to the next. Two chapters (VIII: Resonance and XIV: What Remains) contain no collectibles at all, while the puzzle-heavy chapters — IV, V, VII, X and XI — hold the majority of the game's light-manipulation puzzles.
Every chapter is replayable from Chapter Select at any time. Non-resonance-point collectibles found in a replay still count toward your totals; the 200 Resonance Points are the exception (see the collectibles guide for the full missable warning).
Chapter I — Blood Ties
The opening chapter. Sophia is drawn back to a desert landscape and an old home — sub-chapters include A new home, Faro's cabin, The search for the key and The fighting pit. Early on you loot bodies in a courtyard and find your first blade.
- Collectibles: 2 — 1 Blade (Rusty Sword, automatic story unlock), 1 Artefact (Handled Cross)
- Full guide: Chapter 1: Blood Ties walkthrough
Chapter II — Felons
Sophia and Leni move through a guarded town toward a carnival. The sub-chapter The carnival has you follow pieces of cloth to a church — past a backyard with two pigs, torch jugglers on a stage and a puppet show. The puppet show is tucked away behind the fire-juggler stage: stand in front of it and watch the whole performance — about a minute — to earn the "Theater enthusiast" bronze trophy, one of the easiest to miss in the chapter. See the trophy guide for the full list.
- Collectibles: 2 Artefacts (Serenissima Banner, Bombasin Mask), 2 Charms, 1 Blade, 5 Resonance Points
- Full guide: Chapter 2: Felons walkthrough
Chapter III — Those Before Us
The island. Sub-chapter Paradise starts on a beach where you follow the plunderers' tracks past a big green gate — say hello to the turtle along the shoreline for the "Sea you later!" trophy. Sub-chapter Vestiges climbs through the ruins of an old city with a massive statue, using a grappling hook and Leni's help.
- Collectibles: 6 Artefacts (Conch Shell, Play Onyx, Golden Cup, Heroic Plaque, Strategy Game, Minoan King), 4 Charms
- Resonance Points: 9
- Full guide: Chapter 3: Those Before Us walkthrough
Chapter IV — From Hell It Rose
The Trial begins. This chapter introduces the game's core puzzle language: pedestal symbols, light reflectors, spike traps and the bull mirror room. You also unlock Focus Attacks here, and Leni's help becomes essential for light puzzles. Sub-chapters: Down the abyss, Puzzles and traps, At the bottom.
- Puzzles: 3 Pedestal Symbols (solution: Y-C-↑), Light Reflector, Maze, Spike Trap, Bull Mirror
- Collectibles: 3 Artefacts, 2 Charms, 1 Blade, 17 Resonance Points
- Full guide: Chapter 4: From Hell It Rose walkthrough
Chapter V — Desolation It Wrought
The chapter with the deepest puzzle gauntlet. Sub-chapter Battle grounds starts with heavy combat, then The four symbols sends you through the floor-symbol jump puzzle, three statue door puzzles, a mirror room and an optional pillar puzzle that unlocks a secret blade. This is also where the Brutes — big enemies with red glowing attacks — appear regularly.
- Puzzles: Door, Floor Symbols, Pillar (Secret Blade), 3 Statue Doors, Mirror Room, Pedestal Room sockets
- Collectibles: 5 Artefacts, 5 Charms, 1 Blade, 1 Theseus Echo, 26 Resonance Points
- Full guide: Chapter 5: Desolation It Wrought walkthrough
Chapter VI — What Lies Beneath
The creature begins hunting you. Sub-chapter The creature introduces chase sequences where you must reach safe zones in the light — surviving by a hair's breadth five times unlocks "Close call". Later, The Architect has you follow Daedalus' shortcut through a round room, with an optional bull pillar puzzle on the way.
- Puzzles: Bull Pillar (optional)
- Collectibles: 2 Artefacts (Minoan Queen, Corrupted Mosaic), 3 Charms, 1 Blade, 1 Theseus Echo, 22 Resonance Points
- Full guide: Chapter 6: What Lies Beneath walkthrough
Chapter VII — Death It Sowed
The march on the black temple — sub-chapter The whole damn army — ends at the stage of skulls, where a door puzzle shows its press order when you shine light at it, and the Black Temple Light puzzle chains skull presses, a rotating pedestal and three mirrors. The arena set-piece then cuts to a playable flashback of Theseus, who must work from light to light while the creature closes in — the best spot in the game to farm the "Unpredictable" trophy.
- Puzzles: Lever, Black Temple Door (skulls), Black Temple Light
- Collectibles: 4 Artefacts, 5 Charms, 1 Blade, 1 Theseus Echo
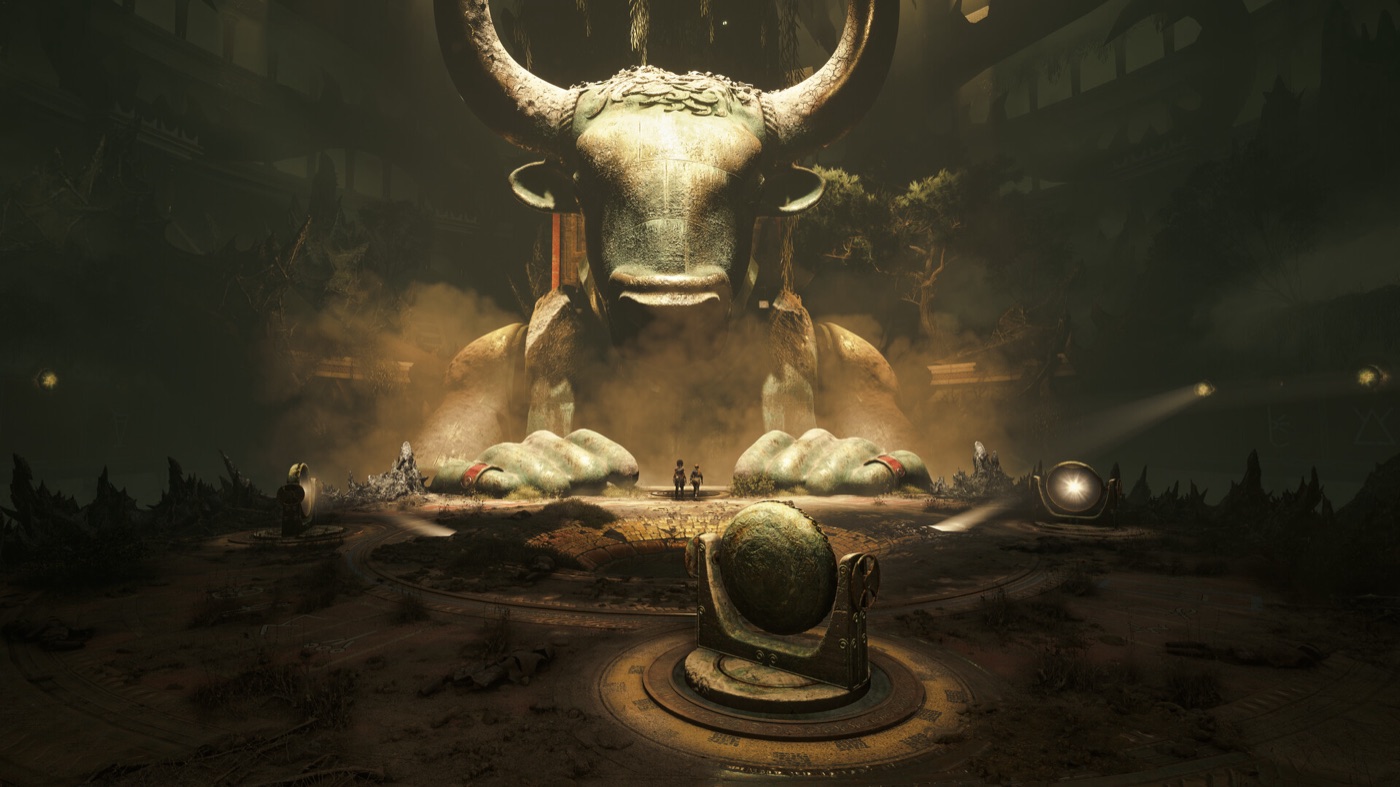
The Minoan ruins are built around light — mirrors, pedestals and the stolen sphere are your tools.
Chapter VIII — Resonance
A short, combat-free interlude. You follow a glowing cable through shifting scenes as a young Sophia — a church, a book, a dark hole — before control returns to an older Sophia, who follows the cable past the great Minotaur statue and descends the steps into the depths below. It is the turning point of the story, where the mystery at the heart of the island starts to resonate with Sophia's past, and it contains no collectibles — a quiet stretch that lets the narrative breathe.
Chapter IX — Night Has Come
The creature hunts you through ruins as you follow the lights toward Minos' palace. Light is scarce here and the chapter leans on stealth, introducing the petrified — statue-like enemies that only stir when you move, so you must keep to the light and creep slowly to slip past them. Sub-chapter Echoes of the past has you explore the palace and crawl through a wall gap to find the fourth Theseus Echo. Sub-chapters include No respite and Hunted.
- Collectibles: 3 Artefacts, 2 Charms, 1 Blade, 1 Theseus Echo
Chapter X — Parallel Paths
The bridge chapter: The bridge sub-chapter opens with a fight against the army, then In the plunderers' wake and Daedalus' workshop follow. You unlock the Light Concentrate skill (sub-chapter 5, A Light that burns) — the sphere's laser beam used against the creature. The mirror light puzzle here uses Faro's help on a scaffold platform.
- Puzzles: Bull Pillar, Mirror Light
- Collectibles: 4 Artefacts (Sun Dial, Terra Incognita, Thakourth Ball, Impossible Mechanism), 3 Charms, 1 Blade, 1 Theseus Echo
Chapter XI — Patera
Named for the Greek word for "father" — and the soundtrack track of the same name. You slide into a cave, solve the light beam and petrified crank puzzles, and face the Puppets ("Corrupted"): heavily armoured enemies whose heads must be removed so their tentacles can be destroyed with the sphere's laser. Sub-chapters: Prisoners of the factory, Puppets.
- Puzzles: Light Beam, Petrified Crank
- Collectibles: 3 Artefacts, 2 Charms
Chapter XII — Fading Light
Sub-chapter The Beam opens in a cave packed with enemies standing close together — the single best spot in the game to farm the "Inherited brutality" Focus Attack trophy and "Skilled maneuverer".
- Collectibles: 1 Charm
Chapter XIII — As One
Sub-chapter The Labyrinth has the worm creature chasing you through a maze — lure it to a light and burn it with the Light Concentrate to farm "Refraction". Surviving Corruption drops you in a room full of petrified enemies, the best spot for "They were people" and "Baitfish".
- Collectibles: 1 Charm
Chapter XIV — What Remains
The final chapter and the end of Sophia's journey on the island. It contains no collectibles; completing it unlocks the "A new beginning" trophy and the story conclusion.
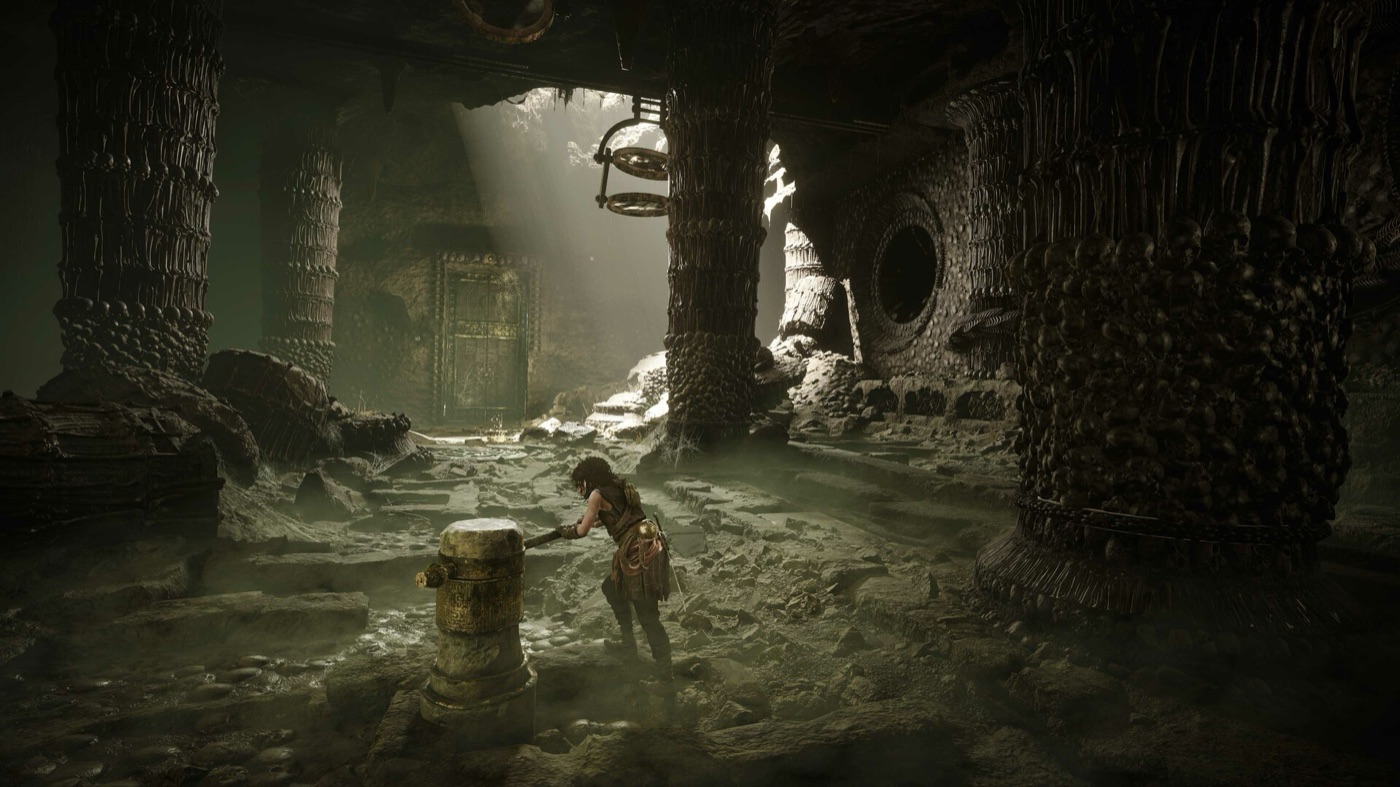
Light is both weapon and guide — and the answer to most of the island's puzzles.
Resonance Points do not carry over in Chapter Select. To unlock the "Like a warrior" trophy you must collect 165 of the 200 Resonance Points in a single playthrough. They only save when you reach the next checkpoint — if you die, you must collect them again.